Building your own gaming PC transforms from intimidating to achievable once you understand the process. Modern PC
assembly requires no specialized skills—just patience, attention to detail, and willingness to follow instructions.
The rewards include better value than pre-built systems, exact component selection matching your needs, and the
satisfaction of creating your own gaming machine.
The 2026 PC building landscape offers excellent options across every budget tier. AMD and Intel provide competitive
processor choices, NVIDIA and AMD deliver capable graphics cards, and component pricing has stabilized after years
of volatility. This stability makes planning and building more predictable than recent years.
This comprehensive guide walks through every step of building a gaming PC, from component selection through first
boot and beyond. Whether you’re building your first system or refreshing your knowledge for another build, this
guide provides the detail needed for successful assembly.
I. Planning Your Gaming PC Build
Successful builds start with planning. Understanding your requirements and budget before purchasing prevents
expensive mistakes and compatibility issues.
Establishing Your Budget
Gaming PC builds span from $600 entry-level systems to $5000+ enthusiast machines. Determining realistic budget
before component shopping focuses research on appropriate options rather than aspirational hardware beyond your
means.
Budget allocation guidelines for gaming-focused builds:
| Component | Budget % | $1000 Build | $1500 Build |
|---|---|---|---|
| Graphics Card | 30-40% | $300-400 | $450-600 |
| CPU | 15-20% | $150-200 | $225-300 |
| Motherboard | 10-15% | $100-150 | $150-225 |
| RAM | 8-12% | $80-120 | $120-180 |
| Storage | 8-10% | $80-100 | $120-150 |
| Power Supply | 8-10% | $80-100 | $120-150 |
| Case | 5-10% | $50-100 | $75-150 |
| CPU Cooler | 3-5% | $30-50 | $45-75 |
Performance Targets
Define your gaming goals before selecting components. Target resolution and frame rate determine required hardware
capability:
1080p 60 FPS: Entry-level builds ($600-800) achieve this comfortably with RTX 4060-class GPUs.
1080p 144+ FPS: Mid-range builds ($900-1200) provide competitive 1080p gaming performance.
1440p 60-100 FPS: Upper mid-range builds ($1200-1600) enable quality 1440p experiences.
1440p 144+ FPS: High-end builds ($1600-2200) deliver high-refresh 1440p gaming.
4K 60+ FPS: Enthusiast builds ($2200+) achieve comfortable 4K gaming.
Compatibility Verification
PC components must be compatible with each other. Critical compatibility considerations include:
CPU-Motherboard Socket: Processors require specific motherboard sockets. AMD Ryzen 7000 uses AM5;
Intel 13th/14th Gen uses LGA 1700.
RAM-Motherboard: DDR4 and DDR5 are not interchangeable. Verify motherboard memory support matches
your RAM choice.
GPU-Case Clearance: Modern GPUs are large. Verify case GPU length clearance accommodates your
graphics card.
Power Supply Wattage: Total system power consumption must fall within PSU capability with headroom
for efficiency.
PCPartPicker.com automatically verifies compatibility when building component lists—an invaluable tool for first-time
builders.
II. Selecting Your Components
Each component category requires understanding to make informed selections. This section explains what matters for
gaming builds.
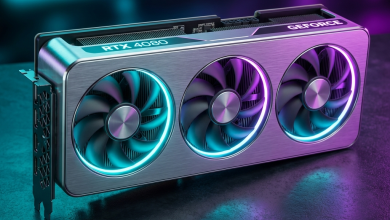
Graphics Card Selection
The GPU determines gaming performance more than any other component. Prioritize GPU budget for gaming-focused builds.
NVIDIA GeForce RTX 40 Series: Current-generation NVIDIA GPUs offering excellent gaming performance.
RTX 4060 ($299) through RTX 4090 ($1599) cover all performance tiers. DLSS 3 support provides significant
performance gains in supported games.
AMD Radeon RX 7000 Series: Competitive AMD alternatives offering strong rasterization performance.
RX 7600 ($269) through RX 7900 XTX ($999) span budget to enthusiast tiers. FSR provides upscaling similar to DLSS.
CPU Selection
Gaming CPUs need strong single-threaded performance and adequate core counts. Both AMD and Intel offer excellent
gaming options.
AMD Ryzen 7000 Series (AM5): Modern DDR5 platform with competitive gaming performance. Ryzen 5 7600X
offers excellent value; Ryzen 7 7800X3D leads pure gaming performance.
Intel 13th/14th Gen (LGA 1700): Mature platform supporting both DDR4 and DDR5. Core i5-13600K
provides outstanding mid-range value; Core i7-14700K satisfies enthusiast needs.
Motherboard Selection
The motherboard connects all components and determines available features. Select based on required functionality
rather than premium features you won’t use.
Chipset Tiers: Higher chipsets (AMD X670E, Intel Z790) offer more features and overclocking
capability. Mid-tier chipsets (AMD B650, Intel B760) satisfy most users at lower cost.
Form Factor: ATX provides maximum expansion; Micro-ATX reduces size with minor feature reduction;
Mini-ITX enables compact builds with significant compromises.
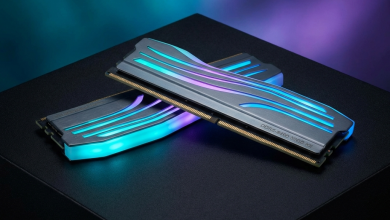
Memory Selection
Gaming PCs in 2026 benefit from DDR5 memory, though DDR4 remains viable for Intel builds seeking budget optimization.
Capacity: 16GB provides adequate gaming headroom; 32GB suits streamers, content creators, and
future-proofing.
Speed: DDR5-5600 to DDR5-6000 offers optimal performance/price balance. Faster speeds provide
diminishing returns.
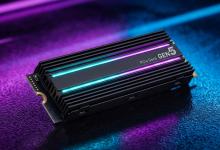
Storage Selection
NVMe SSDs are essential for modern gaming. Secondary storage can be slower/cheaper for game libraries.
Primary Drive: 1TB Gen4 NVMe SSD ($80-100) provides fast Windows and primary game storage.
Secondary Storage: Additional 2TB drives ($120-150) for expanded game libraries. Gen3 NVMe or SATA
SSDs suffice for secondary storage.
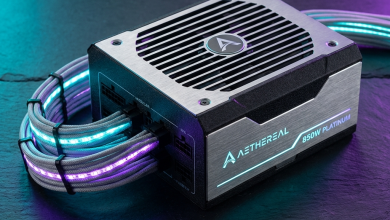
Power Supply Selection
Quality PSUs protect expensive components and ensure stable operation. Don’t cheap out on power supplies.
Wattage: Calculate total system draw and add 20-30% headroom. Most gaming builds need 650-850W.
Efficiency: 80+ Gold certification indicates good efficiency and typically quality construction.
Modularity: Fully modular PSUs simplify cable management by using only required cables.
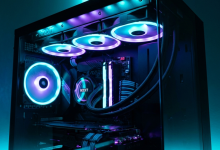
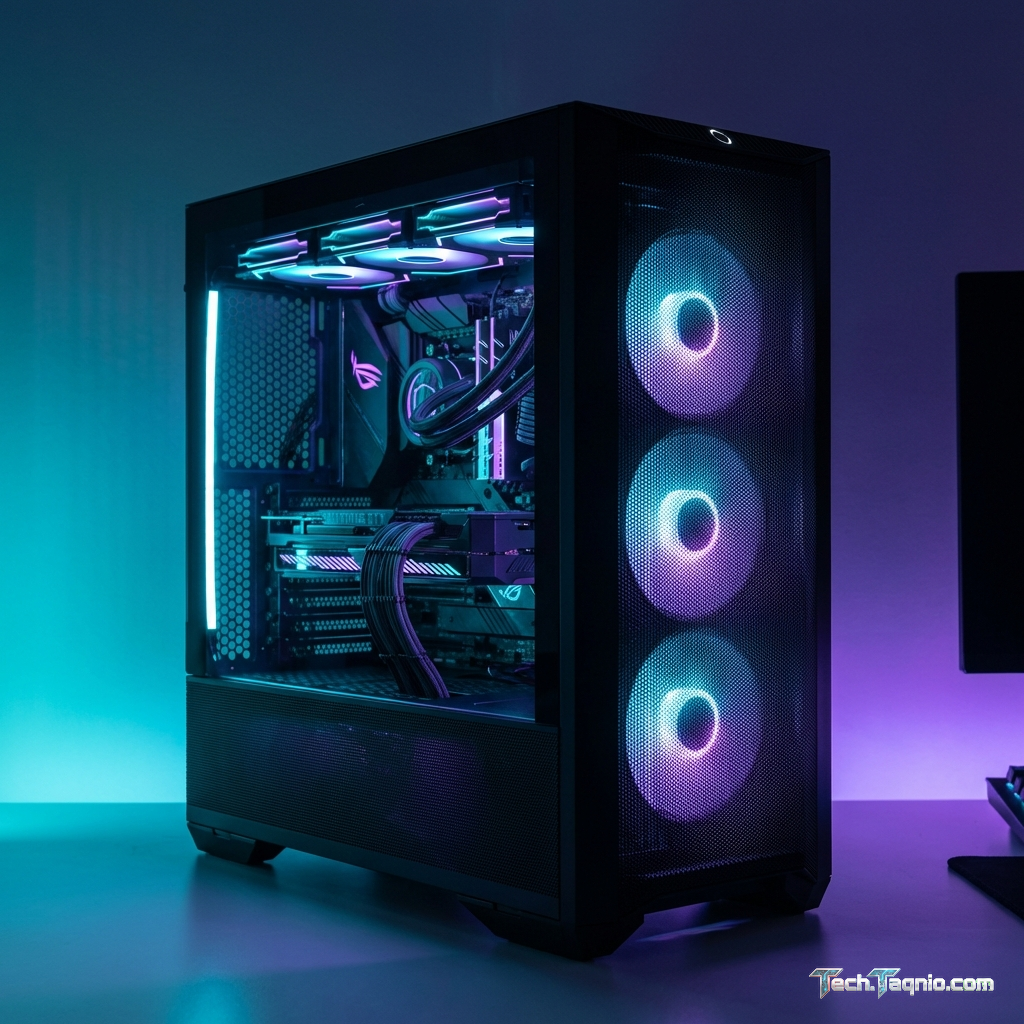
Case Selection
Cases affect cooling, build experience, and aesthetics. Prioritize airflow and build quality over pure aesthetics.
Airflow Design: Mesh front panels allow better cooling than solid panels. Adequate fan mounting
points enable effective airflow configuration.
Size and Clearance: Verify GPU length, CPU cooler height, and radiator support match your component
selections.
CPU Cooler Selection
Stock coolers suffice for some CPUs but aftermarket coolers provide better thermals and acoustics.
Air Coolers: Tower coolers like Noctua NH-D15 or DeepCool AK620 provide excellent cooling at
reasonable cost.
AIO Liquid Coolers: 240mm-360mm AIOs offer strong cooling with cleaner aesthetics but higher cost
and minimal performance improvement over quality air coolers.
III. Preparing for Assembly
Proper preparation ensures smooth assembly. Gather tools and prepare your workspace before beginning.
Required Tools
• Phillips-head screwdriver (magnetic tip helpful)
• Anti-static wrist strap (optional but recommended)
• Good lighting
• Clean, static-safe workspace
• Cable ties for cable management
• Smartphone/tablet for reference guides
Workspace Preparation
Clear a large, clean surface—ideally a non-carpeted area to reduce static electricity. The motherboard box makes an
excellent anti-static work surface for external assembly.
Avoid assembling on carpet or wearing clothing prone to static generation. Touching a grounded metal object before
handling components discharges static buildup.
Component Organization
Unbox components and organize accessories. Identify included screws, cables, and mounting hardware. Reading
motherboard and case manuals before assembly prevents confusion during the build.
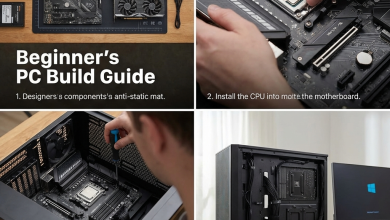
IV. Step-by-Step Assembly Process
Follow this sequence for efficient assembly. Some steps may vary based on your specific components.
Step 1: Install CPU
Begin with CPU installation on the motherboard outside the case. This provides clear access and visibility.
Intel LGA 1700: Release the retention bracket. Align the CPU with socket markers (golden triangle
matches socket triangle). Place the CPU gently—it drops into position without force. Close the retention bracket,
which will push out the protective cover.
AMD AM5: Lift the retention lever. Align the golden triangle on the CPU with the socket marker.
Place the CPU into the socket—pins align automatically. Close the retention lever.
Handle CPUs by edges only. Never touch the contact pads (Intel) or pins (AMD).
Step 2: Install RAM
Install memory in the correct slots for dual-channel operation. Check your motherboard manual for optimal slot
configuration (often A2 and B2 for two sticks).
Open memory slot latches. Align the RAM notch with the slot key. Press firmly until latches click closed. RAM
requires surprising force—don’t be afraid to press firmly with even pressure.
Step 3: Install M.2 SSD
Remove the M.2 heatsink if present. Insert the SSD at an angle into the M.2 slot, then press down and secure with the
mounting screw. Replace the heatsink if applicable.
Step 4: Install CPU Cooler
Apply thermal paste to the CPU if not pre-applied on the cooler. A pea-sized dot in the center spreads during
mounting pressure.
Follow your cooler’s specific mounting instructions. Tighten mounting screws in a cross pattern for even pressure.
Connect the fan header to the CPU_FAN motherboard connector.
Step 5: Prepare the Case
Remove case panels for access. Install the I/O shield if your motherboard includes a separate piece (many modern
motherboards integrate this). Install standoffs matching your motherboard form factor if not pre-installed.
Step 6: Install Motherboard
Lower the motherboard carefully into the case, aligning screw holes with standoffs. Secure with motherboard mounting
screws—snug but don’t overtighten.
Step 7: Install Power Supply
Mount the PSU in the case’s designated location (usually bottom-rear). Orient the fan facing the ventilated direction
(down if case has bottom venting, up otherwise).
Connect power cables to the motherboard: 24-pin main power, 8-pin CPU power. Route other cables toward their
destinations but don’t connect yet.
Step 8: Install Graphics Card
Remove necessary PCIe slot covers from the case rear. Press down on the PCIe slot retention clip.
Insert the GPU firmly into the primary PCIe x16 slot until the retention clip clicks. Secure the bracket to the case
with screws. Connect PCIe power cables from the PSU.
Step 9: Connect Case Cables
Connect front panel connectors to motherboard headers: Power button, Reset button, Power LED, HDD LED. Refer to your
motherboard manual for exact pin locations.
Connect USB headers, audio headers, and any case fan connections. Modern cases often include labeled cables
simplifying this process.
Step 10: Cable Management
Route cables behind the motherboard tray where possible. Use cable tie points in the case. Group cables by type and
destination. Good cable management improves airflow and aesthetics while making future maintenance easier.
V. First Boot and Setup
The moment of truth: powering on your completed build.
Pre-Boot Checklist
Before pressing the power button, verify:
• All power connections secured
• RAM fully seated (latches clicked)
• GPU fully seated and power connected
• CPU cooler fan connected
• Case power button connected to motherboard
First Power-On
Connect monitor, keyboard, and mouse. Connect power cable to PSU and flip the PSU switch on. Press the case power
button.
If successful, fans spin, lights illuminate, and video displays on monitor. Most systems display motherboard splash
screen before entering BIOS.
BIOS Configuration
Enter BIOS setup (usually Delete or F2 key during boot). Verify all components are detected: CPU, RAM amount, storage
drives.
Enable XMP/EXPO profile for RAM to achieve rated speeds. Set boot priority to your installation medium (USB drive
typically).
Windows Installation
Boot from Windows installation media (USB drive prepared with Media Creation Tool). Follow installation prompts,
selecting your primary SSD as the installation destination.
After installation, download motherboard drivers from manufacturer website. Install GPU drivers from NVIDIA or AMD.
Windows Update handles most remaining drivers automatically.
VI. Troubleshooting Common Issues
First builds rarely work perfectly the first time. These common issues have simple solutions.
No Power/No Fans
• Verify PSU switch is on
• Check 24-pin and CPU power connections
• Verify front panel power button connection
• Try jumping power pins directly with screwdriver
No Display Output
• Verify monitor connected to GPU, not motherboard
• Reseat GPU and check power connections
• Try different display cable or port
• Clear CMOS if previously posted
RAM Not Detected
• Reseat RAM with firm pressure
• Try one stick at a time in different slots
• Clear CMOS and retry
• Verify RAM compatibility with motherboard QVL
Boot Loops/No POST
• Remove all but essential components (one RAM stick, no GPU if CPU has integrated graphics)
• Check motherboard debug LEDs or speaker for error codes
• Verify CPU is compatible with motherboard BIOS version
VII. Post-Build Optimization
Once running, several optimizations maximize your build’s performance.
Driver Installation Priority
1. Chipset drivers from motherboard manufacturer
2. GPU drivers from NVIDIA or AMD
3. Audio drivers if applicable
4. Any specialized controller or peripheral drivers
BIOS Settings
• Enable XMP/EXPO for RAM
• Enable Resizable BAR/SAM for improved GPU performance
• Configure fan curves for preferred noise/cooling balance
Windows Optimization
• Disable unnecessary startup programs
• Update Windows fully
• Configure power plan for high performance during gaming
• Install gaming-relevant software (Discord, game launchers, etc.)
VIII. Conclusion
Building a gaming PC in 2026 is achievable for anyone willing to invest time in learning and careful assembly. The
process rewards builders with exactly the system they want, often at better value than pre-built alternatives, and
the satisfaction of creating your own gaming machine.
Take your time during assembly. Most issues stem from rushing or skipping verification steps. When problems arise,
systematic troubleshooting identifies solutions. The PC building community offers abundant resources for assistance.
Your completed build represents years of gaming capability limited only by the components you selected. Enjoy the
unique satisfaction of gaming on a system you assembled yourself.
For complementary guidance on component selection, explore our articles on RTX 4070 vs RTX 4060
GPU comparison and best pre-built gaming
PCs if you prefer alternatives to building.