How to Clean Install Windows for Gaming Performance (2026)

A clean Windows installation represents the most effective method for maximizing gaming performance, eliminating
accumulated software bloat, driver conflicts, and registry fragmentation that develops over extended operating
system use. Whether upgrading hardware, addressing persistent performance issues, or simply starting fresh, a
properly executed clean installation establishes the optimal foundation for gaming.
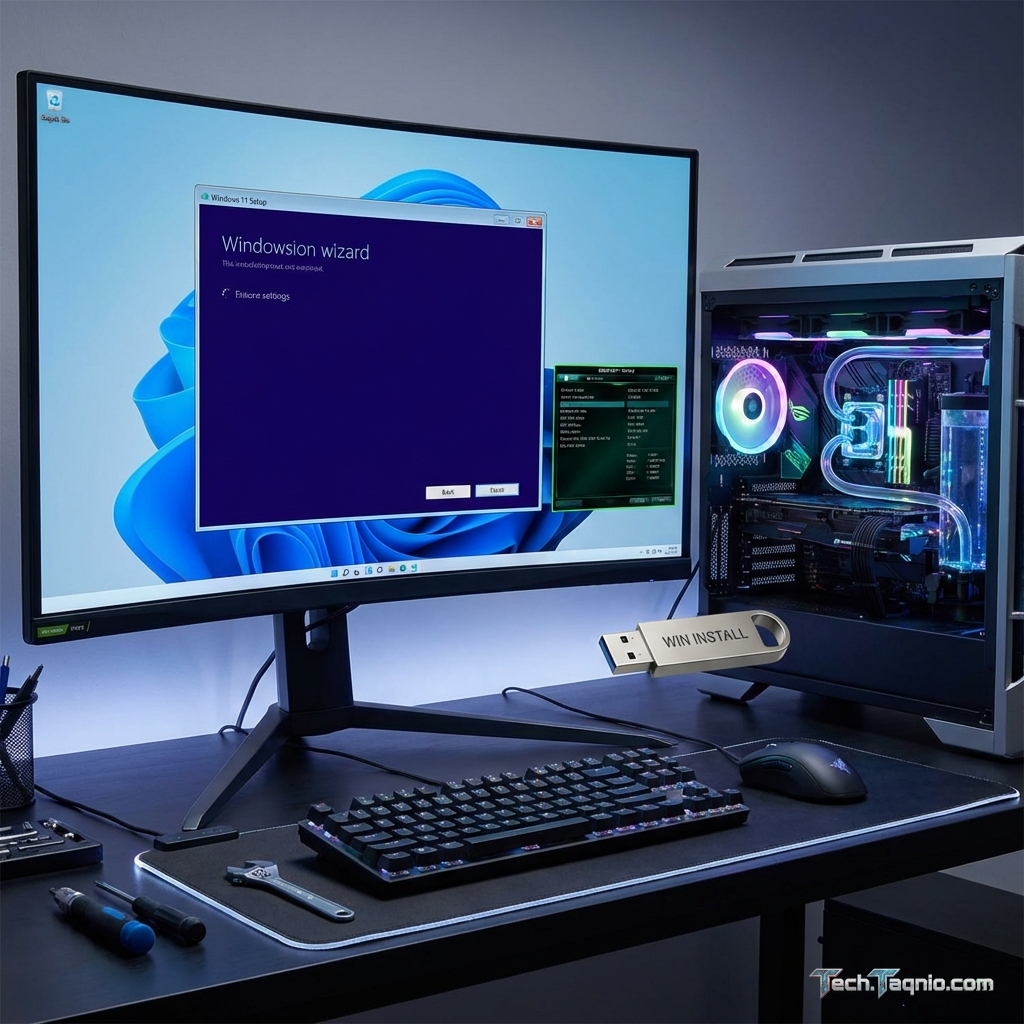
This comprehensive guide covers the complete clean installation process for Windows 11 24H2, from creating
bootable installation media through post-install optimization specifically targeting gaming performance.
Following
these procedures establishes a lean, efficient Windows installation optimized for maximum frame rates and
minimal system overhead.
I. Pre-Installation Preparation
Backing Up Essential Data
Clean installation formats the target drive, permanently erasing all existing data. Before proceeding, ensure
comprehensive backup of essential files, game saves, and configuration data. Steam Cloud, Epic Games, and other
platforms sync many game saves automatically, but verify sync status before installation and manually backup
saves for games without cloud support.
Export browser bookmarks, passwords, and extension lists from your current installation. Chrome, Firefox, and
Edge all support account-based synchronization that can restore browser data on the fresh installation.
Screenshot
or document important application settings that would be difficult to recreate.
Create a list of essential applications and their license keys or download sources. This reference accelerates
post-installation software setup and prevents forgetting critical applications. Note any special configuration
requirements or driver dependencies for specialized hardware like capture cards, audio interfaces, or racing
wheel peripherals.
Downloading Latest Drivers
Prepare current drivers for installation immediately after Windows setup completes. Download the following
drivers from manufacturer websites:
- GPU Drivers: NVIDIA GeForce Experience or standalone driver package from nvidia.com,
or AMD Adrenalin from amd.com. Download the driver package, not just the downloader. - Chipset Drivers: Intel or AMD chipset drivers from your motherboard manufacturer’s
support page specific to your motherboard model. - Audio Drivers: Realtek or alternative audio drivers from motherboard support page
if improved audio processing or features beyond Windows basic drivers are desired. - LAN/WiFi Drivers: Network adapter drivers from motherboard manufacturer, though
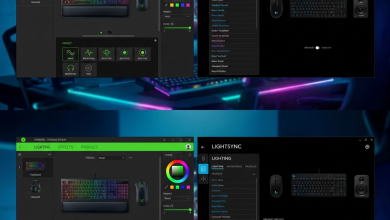
Windows typically includes functional network drivers for most adapters. - Peripheral Software: Razer Synapse, Logitech G Hub, Corsair iCUE, or other peripheral
management applications as needed for your devices.
Store downloaded drivers on a secondary drive that won’t be formatted, or copy them to the USB installation
drive after creating the Windows installer. Having drivers available offline accelerates post-installation
configuration, particularly important if Windows doesn’t automatically install functional network drivers.
Creating Installation Media
Windows 11 installation media creation requires a USB drive of 8GB minimum capacity. Microsoft’s Media Creation
Tool available from microsoft.com/software-download/windows11 creates bootable USB installers directly,
downloading the latest Windows 11 version and configuring the drive automatically.
Alternative approaches using Rufus or Ventoy provide additional options for users requiring specific
configurations. Rufus enables bypassing hardware compatibility checks for unsupported systems, while Ventoy
allows maintaining multiple bootable ISOs on a single USB drive. For standard installations on compatible
hardware, Microsoft’s official tool provides the most reliable results.
Verify creation success by temporarily booting from the USB drive before committing to the full installation.
Reaching the Windows Setup screen confirms the installation media functions correctly, allowing safe shutdown
and final pre-installation tasks.
II. BIOS/UEFI Configuration
Essential BIOS Settings
Access BIOS/UEFI setup by pressing the appropriate key during system POST (typically Delete, F2, or F12
depending on motherboard manufacturer). Modern UEFI interfaces display boot configuration, storage settings,
and performance options through graphical menus.
Verify the following settings before installation:
- Boot Mode: Ensure UEFI boot mode is selected, not Legacy/CSM. Windows 11 requires UEFI
boot with Secure Boot compatibility. - Secure Boot: Enable Secure Boot for Windows 11 compatibility and enhanced security.
Some users disable this for Linux dual-boot scenarios, but gaming-focused Windows installations should
enable this feature. - TPM: Verify TPM 2.0 is enabled. Intel systems list this as PTT (Platform Trust
Technology), AMD systems as fTPM. Required for Windows 11 installation. - XMP/EXPO: Enable XMP (Intel) or EXPO (AMD) memory profiles to run RAM at rated
speeds rather than default JEDEC specifications. This provides significant performance benefit. - Resizable BAR: Enable Resizable BAR for improved GPU memory access efficiency.
Requires CPU, motherboard, and GPU support—consult component specifications.
Boot Order Configuration
Set the USB installation drive as the primary boot device temporarily, or use the boot device selection menu
(typically F12 or F8) during startup to one-time boot from USB without permanently changing boot order. After
installation, the system should boot from the newly-installed Windows on the target SSD.
If the target installation drive contains an existing Windows installation with Secure Boot, the system may
continue booting from it despite USB boot priority. In such cases, use the one-time boot menu to force USB
boot, or temporarily disable Secure Boot during installation media boot.
III. Windows Installation Process
Setup and Drive Configuration
Boot from the USB installation media to reach Windows Setup. Select language, time format, and keyboard
layout preferences. Click “Install now” to proceed to product key entry. Enter your Windows license key if
available, or select “I don’t have a product key” to proceed with installation and activate later.
Select Windows 11 edition matching your license (Home or Pro). Windows 11 Pro provides additional features
including BitLocker encryption, Hyper-V virtualization, and Group Policy editor—useful for advanced users but
not specifically beneficial for gaming.
On the installation type screen, select “Custom: Install Windows only (advanced)” for clean installation.
The upgrade option preserves existing files and applications, defeating the purpose of clean installation.
Custom installation provides drive partitioning options for complete format and fresh start.
Partition Management
The drive selection screen displays all connected storage devices and their partition structures. For truly
clean installation, delete all existing partitions on the target drive, leaving unallocated space. Windows
Setup will create necessary partitions (EFI System, Recovery, Primary) automatically during installation.
WARNING: Deleting partitions permanently erases all data on those partitions. Verify you’re
selecting the correct drive—identify by size and existing partition names if multiple drives are connected.
Consider temporarily disconnecting other drives during installation to prevent accidental formatting of wrong
drives.
Select the unallocated space on your target drive and click “Next” to begin installation. Windows creates
partitions and copies installation files automatically. The system will restart several times during this
process—avoid interrupting the installation.
Initial Setup Options
After file copying completes, Windows presents the OOBE (Out of Box Experience) setup wizard. For gaming-
focused installations, the following selections optimize for performance and minimize bloatware:
Region and Keyboard: Select appropriate settings for your location.
Network Connection: Connect to network for driver downloads and activation. If you want to
create a local account without Microsoft account requirement, skip network connection temporarily by pressing
Shift+F10 and entering “OOBE\BYPASSNRO” in Command Prompt, then restarting OOBE.
Microsoft Account: Online accounts provide settings sync and cloud integration, while local
accounts provide traditional offline operation. Either works for gaming—choose based on preference for sync
features versus privacy concerns.
Privacy Settings: Disable telemetry, tailored experiences, and advertising ID options during
setup. These features consume minimal resources but provide no gaming benefit. Location services may be useful
for weather widgets but otherwise can remain disabled.
IV. Post-Installation Configuration
Driver Installation Order
Install drivers in the following order for optimal results:
- Chipset Drivers: Install first to establish proper system component communication.
Restart when prompted. - GPU Drivers: Install graphics drivers next. For NVIDIA, use “Custom Installation”
and select “Clean Installation” to ensure no conflicts with Windows basic drivers. Restart required. - Audio Drivers: Install if improved audio processing or surround sound features
beyond Windows basic drivers are desired. Optional for most users. - Network Drivers: Install only if Windows Update doesn’t provide optimal drivers
or if specific features require manufacturer drivers. - Peripheral Software: Install RGB control, mouse, and keyboard software after
core system drivers.
Run Windows Update after initial driver installation to collect additional driver updates and system
patches. Allow all updates to complete, including feature updates if offered. Restart multiple times
as needed until Windows Update reports “You’re up to date.”
Windows Settings Optimization
Navigate to Settings > Gaming to configure gaming-specific Windows features:
Game Mode: Enable Game Mode to prioritize gaming applications and suppress Windows
Update restarts during gaming sessions.
Game Bar: Disable if not using Xbox Game Bar features. Some users prefer third-party
overlay alternatives like GeForce Experience or Steam overlay.
Captures: Disable background recording if not needed. Background recording consumes
GPU resources even when not actively recording.
Navigate to Settings > System > Power & battery (laptops) or Power mode (desktops) and select “Best
performance” for maximum gaming performance. Create Windows power plans through Control Panel for more
granular control if desired.
Disabling Unnecessary Services
Windows includes services that consume resources without benefiting gaming. Consider disabling:
- SysMain (Superfetch): Pre-loads frequently used applications into RAM. Beneficial
for systems with limited RAM, but modern gaming systems with 16GB+ may see improved consistency with
this disabled. - Windows Search Indexing: Indexes files for fast search. Creates background disk
activity that can cause stuttering on mechanical drives. SSD users experience less impact. - Connected User Experiences and Telemetry: Telemetry collection consumes minimal
resources but provides no user benefit.
Disable services through Services.msc, setting startup type to “Disabled” for unwanted services. Exercise
caution—disabling critical services causes system instability. Research unfamiliar service names before
disabling.
V. Gaming-Specific Optimizations
Visual Effects Configuration
Access advanced system settings through Control Panel > System > Advanced system settings > Performance
Settings. The Visual Effects tab offers presets, with “Adjust for best performance” disabling all animations
and visual enhancements for maximum responsiveness.
For balanced aesthetics with performance, manually select only essential visual effects:
- Smooth edges of screen fonts (readability)
- Show thumbnails instead of icons (file navigation)
- Use visual styles on windows and buttons (modern appearance)
Disable all animation effects, shadows, and fade transitions for improved system responsiveness without
sacrificing usability. The performance impact of individual effects is minimal, but cumulative effects
create noticeable improvements on all systems.
Virtual Memory Configuration
Windows manages virtual memory (page file) automatically, but manual configuration can improve performance
for gaming. Access through Advanced system settings > Performance Settings > Advanced tab > Virtual Memory.
For systems with 16GB+ RAM, set custom page file size with Initial and Maximum values both at 1.5x your
RAM amount. This prevents dynamic resizing during gaming sessions. Systems with 32GB+ RAM may reduce page
file size or move it to secondary drives, though some games specifically require page file availability.
Place the page file on your fastest SSD for best performance when page file access is required. Never
completely disable page file—some applications and games require page file presence regardless of available RAM.
Background Application Management
Minimize startup applications through Task Manager > Startup Apps. Disable non-essential applications
including:
- Manufacturer bloatware installers
- Instant messaging applications (Discord, Slack if not needed during gaming)
- Cloud storage sync clients (OneDrive, Dropbox, Google Drive)
- Update checkers for infrequently used applications
Configure essential RGB and peripheral software to start minimized to system tray rather than visible
windows. Launch non-essential applications manually when needed rather than running continuously.
VI. Essential Software Installation
Gaming Platforms
Install gaming platforms in order of library size—the platform containing most of your games should
install first to begin downloading while configuring others:
- Steam: Configure default installation location on your fastest SSD. Enable Steam
Beta participation if desired for newest features. - Epic Games Store: Select installation directory and configure auto-update preferences.
- GOG Galaxy: Install for DRM-free titles and cross-platform library integration.
- EA App: Replace Origin for EA titles. Configure installation directory.
- Ubisoft Connect: Required for Ubisoft titles.
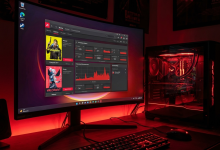
Performance Utilities
Install monitoring and optimization utilities:
- MSI Afterburner: GPU monitoring, overclocking, and on-screen display of performance
metrics during gaming. - RTSS (RivaTuner Statistics Server): Included with Afterburner, provides precise frame
rate limiting and advanced statistics. - HWiNFO64: Comprehensive system monitoring for temperature, voltage, and performance
tracking. - CapFrameX: Advanced frame time analysis for detailed performance benchmarking.
Essential Utilities
Install productivity and utility applications as needed:
- Web Browser: Chrome, Firefox, or Edge based on preference.
- Archive Manager: 7-Zip for file compression and extraction.
- Media Player: VLC for broad format compatibility.
- PDF Reader: Sumatra PDF or Adobe Acrobat Reader.
- Communication: Discord, TeamSpeak, or preferred voice chat.
VII. Verification and Benchmarking
System Stability Testing
Before extensive gaming, verify system stability with stress testing:
CPU Stress Test: Run Cinebench R23 or OCCT for 15-30 minutes to verify CPU cooling and
stability. Monitor temperatures—sustained temperatures above 90°C indicate cooling issues.
GPU Stress Test: Run 3DMark Time Spy or FurMark for 10-15 minutes. Watch for artifacts,
crashes, or excessive temperatures (above 85°C under stress suggests cooling limitations).
Memory Test: Run Windows Memory Diagnostic or MemTest86 to verify RAM stability, especially
important after enabling XMP/EXPO profiles.
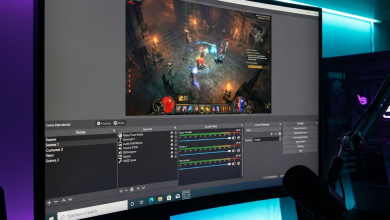
Gaming Benchmarks
Establish baseline performance measurements for comparison with previous installation or future changes:
- Run 3DMark Time Spy for standardized GPU benchmark scores
- Test 2-3 frequently played games with consistent benchmark sequences or known areas
- Record average FPS, 1% lows, and frame times using CapFrameX or similar tools
- Document GPU and CPU temperatures during sustained gaming sessions
Compare results with your previous installation if available. Clean installations typically show 5-15%
improvement in consistency (1% lows) if the previous installation had accumulated significant software
overhead, with minimal average FPS change on modern systems with sufficient RAM.
VIII. Maintenance Recommendations
Preventing Future Degradation
Maintain optimal performance by avoiding common issues that degrade fresh installations:
- Install only necessary software—each additional application potentially adds startup items and
background processes - Regularly review startup applications and disable newly-added items that aren’t required
- Keep drivers updated through GeForce Experience, AMD Software, or Windows Update
- Run Disk Cleanup monthly to remove temporary files and Windows Update caches
- Avoid “system cleaner” or “optimizer” applications that often cause more problems than they solve
When to Clean Install Again
Consider another clean installation when:
- Upgrading to a new CPU requiring different chipset drivers
- Major Windows version upgrades (though in-place upgrades have improved significantly)
- Persistent unexplained performance degradation despite troubleshooting
- Driver conflicts causing instability after major hardware changes
IX. Conclusion
A properly executed clean Windows installation establishes the optimal foundation for gaming performance,
eliminating accumulated software overhead and driver conflicts that develop over extended system use. The
process requires several hours of attention including driver installation and software configuration, but
provides a fresh, optimally configured gaming environment.
The most significant improvements appear in frame time consistency rather than average frame rates.
Systems suffering from micro-stutters, inconsistent frame pacing, or unexplained performance variations
often see dramatic improvement after clean installation and proper configuration.
Following this guide ensures your fresh installation is properly optimized from the start, avoiding common
pitfalls that immediately begin degrading performance. Regular maintenance and selective software
installation preserve this optimization, extending the time before another clean installation becomes
beneficial for your gaming experience.